

Step 2: Installing CloudWatch Agent
Welcome back to my adventure in installing the AWS CloudWatch Agent on a Lightsail instance. I hope you enjoyed the break while I waited for the instance to provision.

Next I logged into the instance via a console and installed the CloudWatch agent as per the directions provided from AWS.

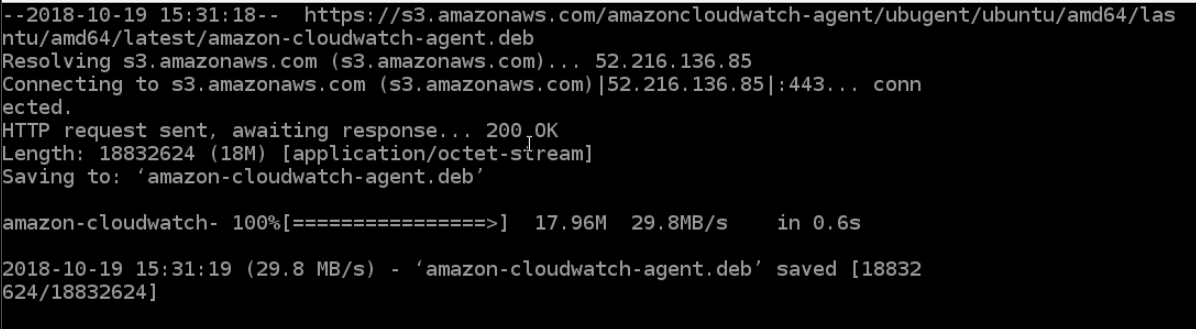
wget https://s3.amazonaws.com/amazoncloudwatch-agent/ubuntu/amd64/latest/amazon-cloudwatch-agent.deb
When done correctly the output looked like this:
sudo dpkg -i -E ./amazon-cloudwatch-agent.deb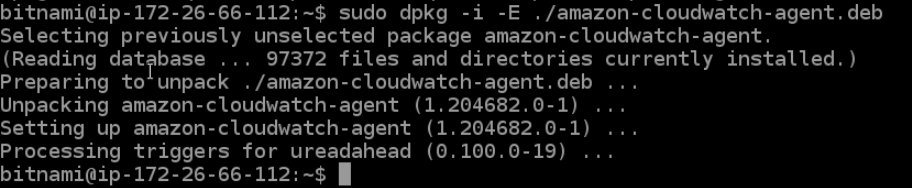
So far, so good. I was making good progress towards the goal of having monitoring for my Lightsail (aka ‘On Premise’) instances.
Following the install of the CloudWatch Agent I had to configure some access controls. This would require some IAM operations.


One thought on “CloudWatch Agent on Lightsail”