

Step 4: Appling the Credentials
Back in the Lightsail terminal from Step 2 I added the newly created credentials to allow the CW Agent to reach into my AWS account and provide information to Cloud Watch.
A minor issue I ran into was the OS and installed packages, the AWS CLI was not installed.
For the duration I switched to root and installed the missing system dependencies.
sudo su
apt-get update -y &&apt-get install -y python-pip
This installs the Python dependency manager called PIP. Since the AWS-CLI is written in Python, PIP is the prefered method of installation (though other ways exist).
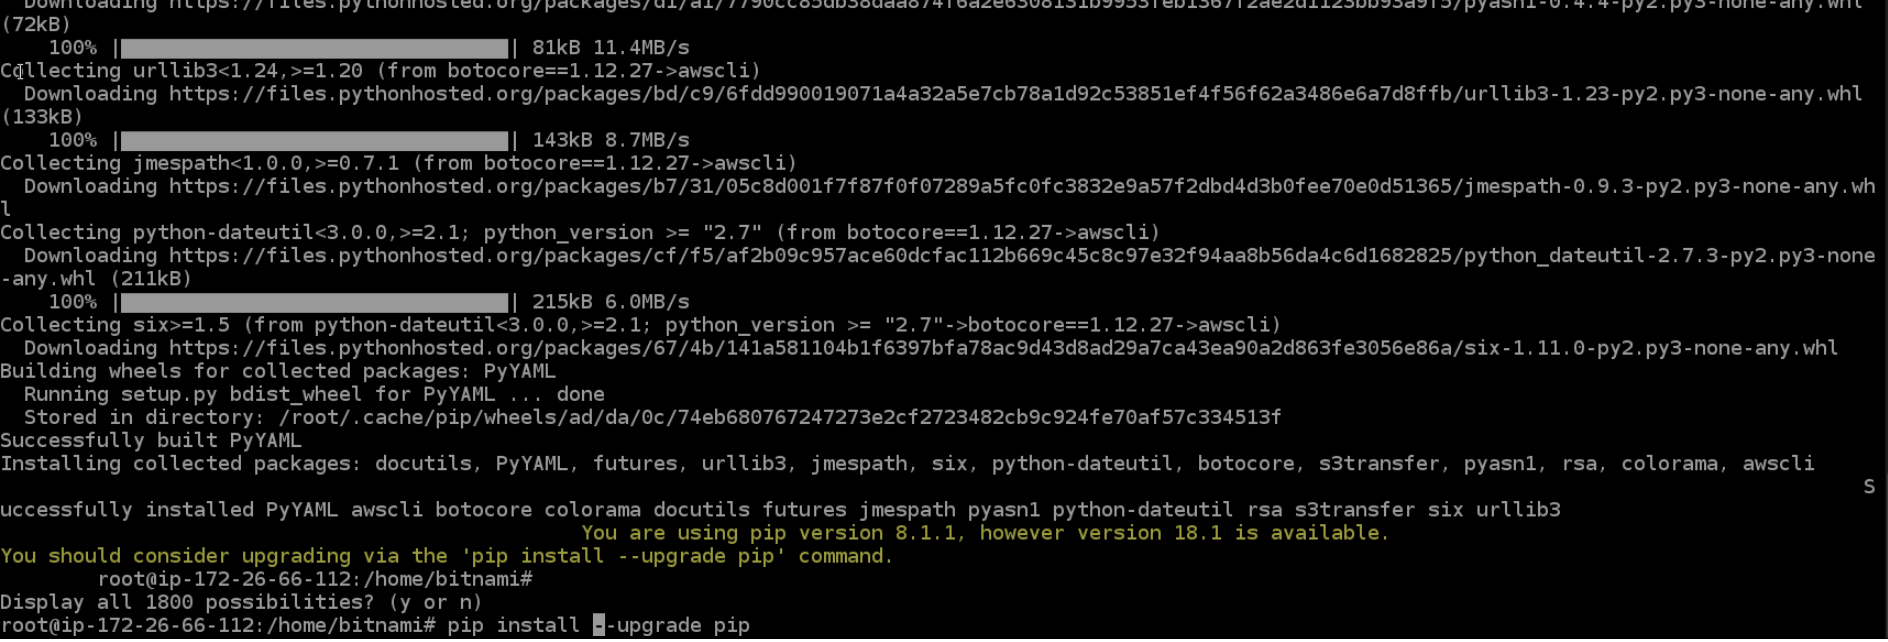
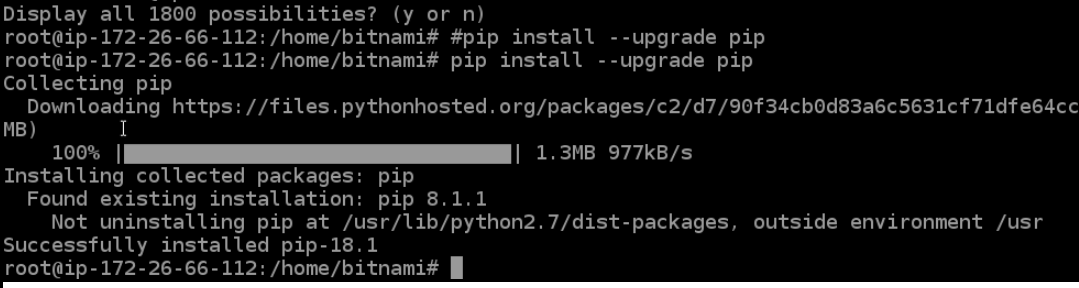
pip install --upgrade pip
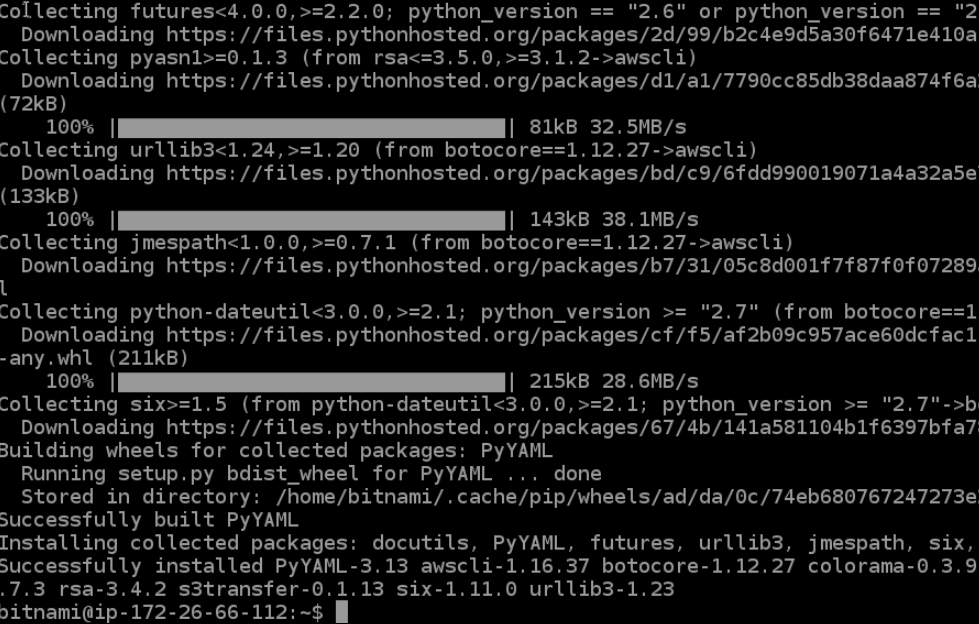
pip install awscli --upgrade --user
Making good progress so far.
export PATH=$PATH:/root/.local/bin
aws configure --profile AmazonCloudWatchAgent
This is where I needed to provide the ID and API key created in the console last step.

Now that the credentials part is all over on to the next step.


One thought on “CloudWatch Agent on Lightsail”